I felled a long, slim water oak and limbed it, bucked it into sections, and found a semi-flat spot (we live on a hill, so there are no truly flat spots) to lay out the butt log. It was about 10 feet long. I used the bow saw to make a notch in the top face of the log every 6 inches or so, then straddled the log and swung the adz between my feet. The curved blade caught in the grain of the oak and tore away 6-inch sections. Then I moved farther down the log, aimed at another section, and let fly. It left a nice, smooth surface that almost looked planed. Problem was, I'd severely misjudged the depth of my notches. They were about a half-inch deeper than needed, so there was a series of very noticeable half-inch notches down the length of my awesomely smooth timber.
My second attempt was another section of the same tree. It worked out great, but the end of the log split wide open within a couple of days and ruined my celebration. The wood itself is partially to blame for that. Water oak is very prone to checking and splitting; that's why I decided to use it for my practice timbers. If they split, I just use them for firewood. I also learned not to leave a drying timber in full sun, or it'll dry too fast and crack, warp, twist, etc.

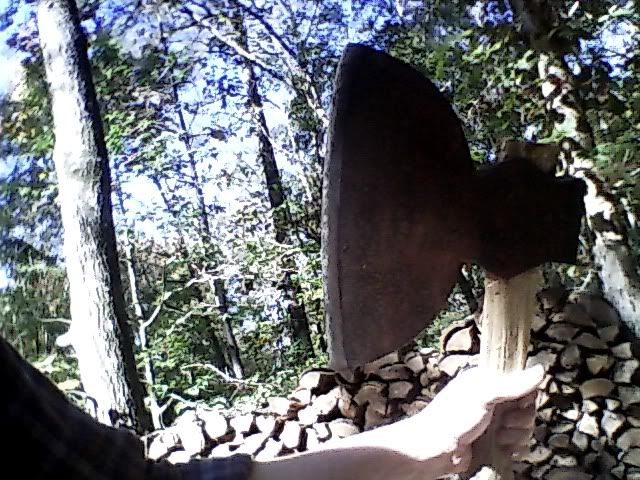
My third attempt was the game-changer. This time ...I had a secret weapon: a century-old, foot-wide, cast-steel broadaxe. It cost me $20 on ebay. Certainly not a top quality product like a hand-forged Gransfors axe, but it holds an edge well and gets the job done. I filed the pits from the edge and fashioned a home-made oak handle.
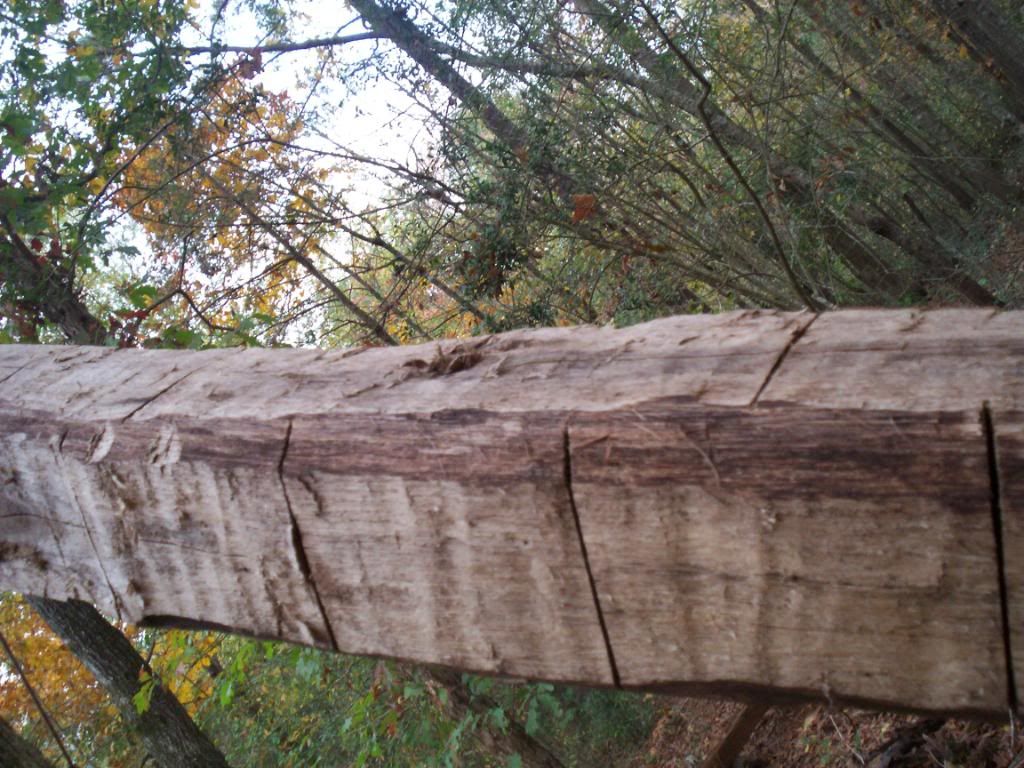
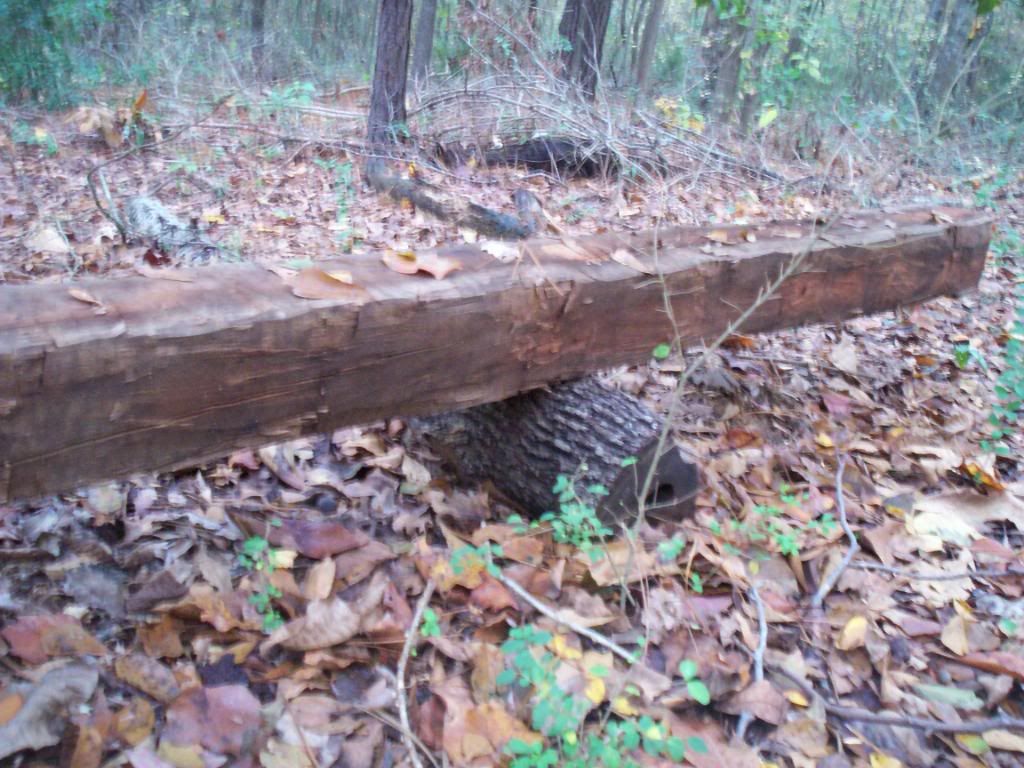
I still wasn't entirely certain how to use it. But it couldn't be THAT hard, right? After a particularly fierce thunderstorm, I found a large cherry tree blown down in our woods. A long section of the trunk was thick and straight, so I cut it loose and rested it lengthwise atop two sections of cordwood. After peeling the log, which had a sickly sweet odor like mashed cherries, I set to work cutting notches, this time with a felling axe. Then I hefted the new broadaxe and gave it a swing. It chipped away like a champ. The log ended up roughly square, a little ragged, and much better than my previous attempts.
But it still wasn't good enough. The hewed faces of the log didn't have that mirror-smooth finish and the same irregularly-spaced tool-marks like the vintage timbers I'd seen online. It was back to the drawing board for Paul Bunyan.
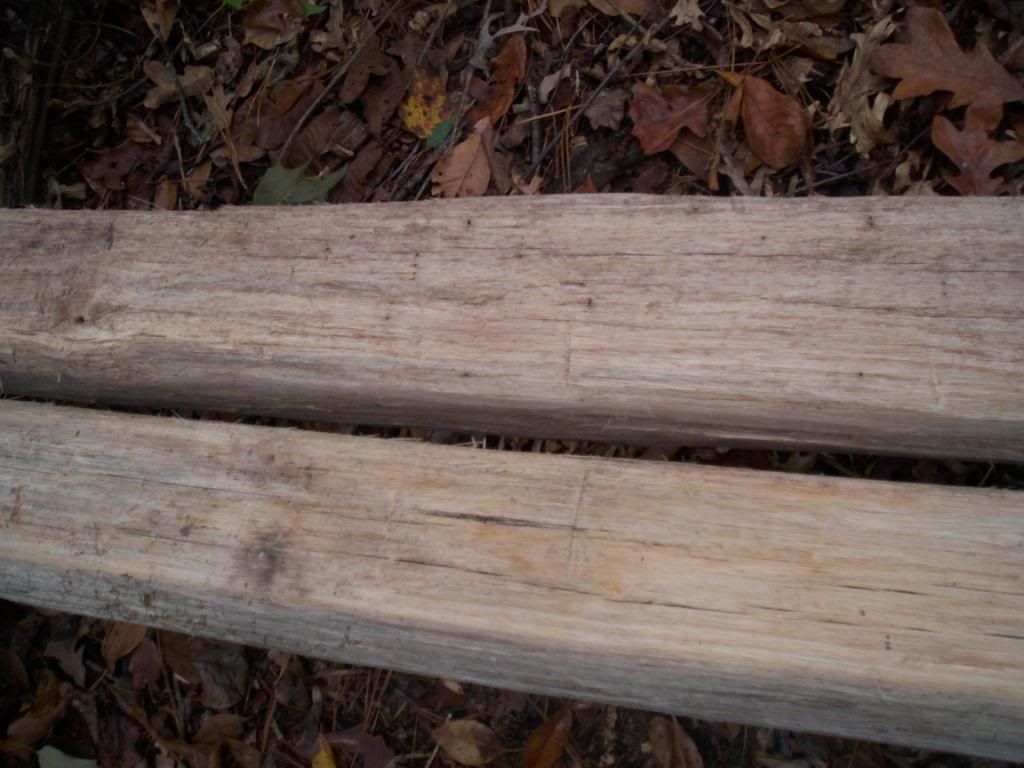
Time passed, trees fell, and I tried various different methods from widely differing sources. Everything from Japanese master carpenters to buckskinners who reenact the days of Lewis and Clarke, and each advised something different. Each produced varying results. I managed a couple of fairly even 15-foot oak timbers, but something still wasn't right. I had a gut feeling that I was missing something or skipping a step.
Then I found the ultimate guide. While searching for hewing tutorials, I ran across a website for tie hackers. Tie hackers are the hard-bitten old gents who, up until the 1940's, spent 12-hour days in the woods hewing ties for the railroad. They were never paid much for the job, so a man had to work fast and produce good ties to make a living. Thus, they refined hewing techniques to an art. A .pdf document on the site detailed their methods, accompanied by a series of drawings that illustrated the process perfectly. It filled in a lot of holes for me and answered several questions.
In my next post, we'll go over the tie hackers' drawings and see how to hew a log properly. I'll post a picture of my latest attempt, and I think you'll agree -- those old-timers knew a thing or two.
No comments:
Post a Comment